
Remove Background From Product Photos Free: Tested Browser Cutout Notes

Background Removal Works Best When the Subject Has Edges
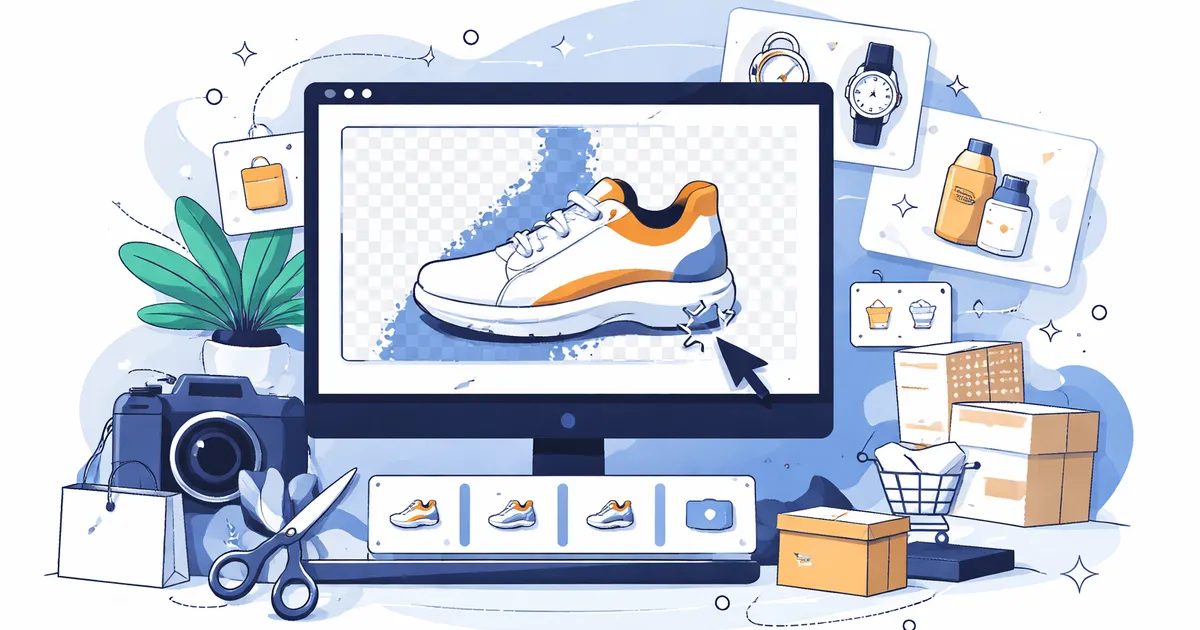
A product background remover is most useful when the product is already visible but the setting is distracting. The tool can isolate a subject, but it cannot turn every messy photo into a finished catalog image. Lighting, contrast, and edge detail still decide whether the cutout looks clean.
Скористайтеся цими інструментами зараз
Натисніть кнопку, щоб одразу відкрити потрібний інструмент.
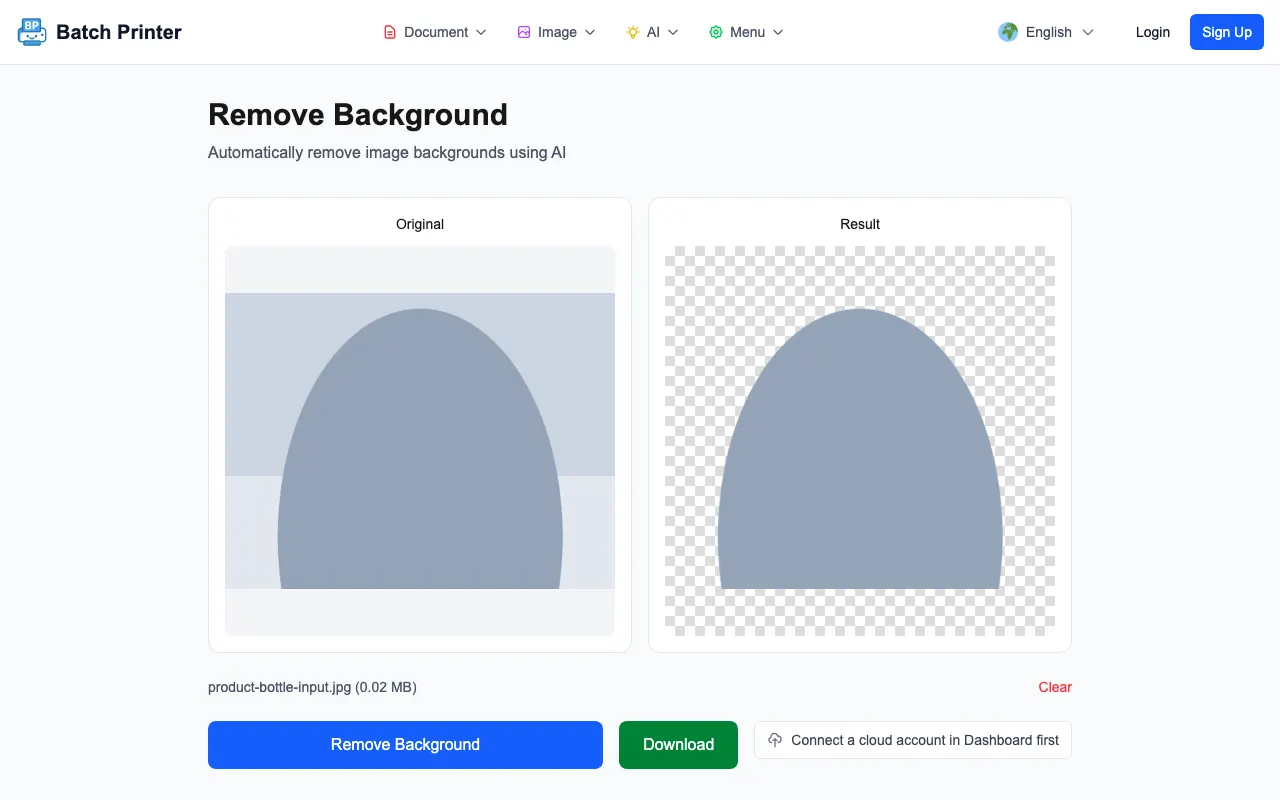
A dark bottle on a pale tabletop with a blue-gray background is a fair first test for any cutout tool: strong subject, soft shadow, low-contrast edge at the base. Run through the Batch Printer Remove Background tool, that mockup came back as the object on a checkerboard transparency preview, and the downloaded PNG kept its transparency - ready to sit on a white canvas or inside another design without a halo of old background.
Use It for Cutouts, Not Magic Retouching
The tool is a cutout workflow. It removes the surrounding background and gives you a transparent result. It does not reshoot the product, fix bad focus, repair glare, or invent missing edges. If the source photo is blurry, cropped too tightly, or nearly the same color as the background, the output needs more manual checking.
- The product should have clear contrast against the surface behind it.
- The whole item should be inside the frame, including handles, caps, tags, or cables.
- Hard shadows should not hide the edge you want the model to keep.
- Transparent or reflective materials should be reviewed carefully after processing.
- A white final background should be added after the transparent cutout if your destination requires white instead of transparency.
The Test Photo and What Changed
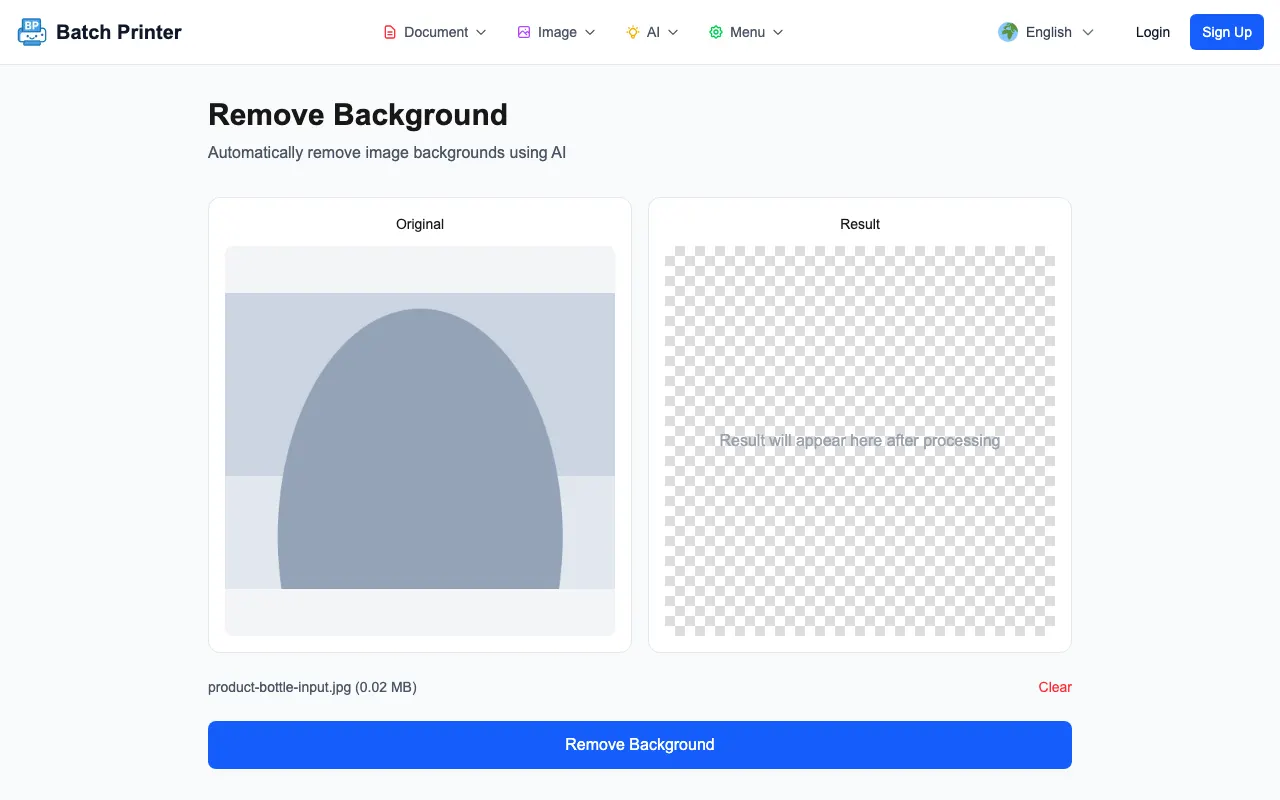
The uploaded sample was a JPG named product-bottle-input.jpg. In the first state, the left preview showed the original image and the right preview showed a checkerboard placeholder with the message that the result would appear after processing. The page also showed the file name and a Remove Background button.
After processing, the result panel changed from the placeholder to a checkerboard transparency preview. The main bottle shape remained visible, including the body and cap area. The output PNG I downloaded from this test was 185,182 bytes. The edge was good enough for a quick product card mockup, but I would still inspect it on both light and dark backgrounds before publishing.
Step-by-Step: Make the Transparent PNG
- Step 1: Open the Remove Background tool and upload a JPG, PNG, or WebP product photo.
- Step 2: Confirm the original preview is the right image before running the model.
- Step 3: Click Remove Background and wait for the result panel to change from the placeholder to the transparent preview.
- Step 4: Download the PNG and open it on a plain background so halos or missing edges are easier to see.
- Step 5: Place the transparent PNG onto white, a brand color, or a design layout only after the edge check passes.
Photos That Usually Work Better
The cleanest inputs are product photos with a clear subject outline, even lighting, and enough resolution to show fine edges. Bottles, boxes, flat packaged goods, shoes, and simple accessories are easier to verify than glass, jewelry chains, fur, wispy hair, mesh, and products with holes or translucent parts.
A transparent output is not the same as a finished listing image. If you need a white background, create that white canvas after the cutout. If the product should look grounded, add a subtle shadow later instead of relying on the original background shadow, which may be removed or partially clipped.
Limits I Would Check Before Publishing
- Low contrast, such as a white object on a white table, can leave uncertain edges.
- Motion blur makes the model choose between soft subject edge and soft background.
- Reflective product surfaces can keep fragments of the room or camera in the object itself.
- Transparent packaging may need manual cleanup because the background shows through the product.
- Very small product details should be checked at high zoom before the image goes into a shop, catalog, or ad layout.
Background Removal FAQ
Does the result have a white background? The tested output appeared as a transparent checkerboard preview and downloaded as PNG. Add a white background afterward if you need a white final image.
What kind of product photo should I try first? Start with one object, a contrasting background, and even light. That makes it easier to judge whether the cutout is good before processing a whole set.
Should I trust the edge without checking? No. Open the PNG on both a light and dark background, then inspect the outline for halos, missing corners, or stray background pieces.
Скористайтеся цими інструментами зараз
Натисніть кнопку, щоб одразу відкрити потрібний інструмент.