
Remove a Visible AI Overlay With a Checked Browser Workflow


Remove a Visible AI Overlay With a Checked Browser Workflow
This guide is intentionally narrow: visible AI-style overlay cleanup in Batch Printer, start to finish. Invisible provenance data is a separate topic, and usage permissions are between you and the image source. The safe technical workflow is the same regardless - process a copy, compare the output, and keep the original until the cleaned image has been reviewed.
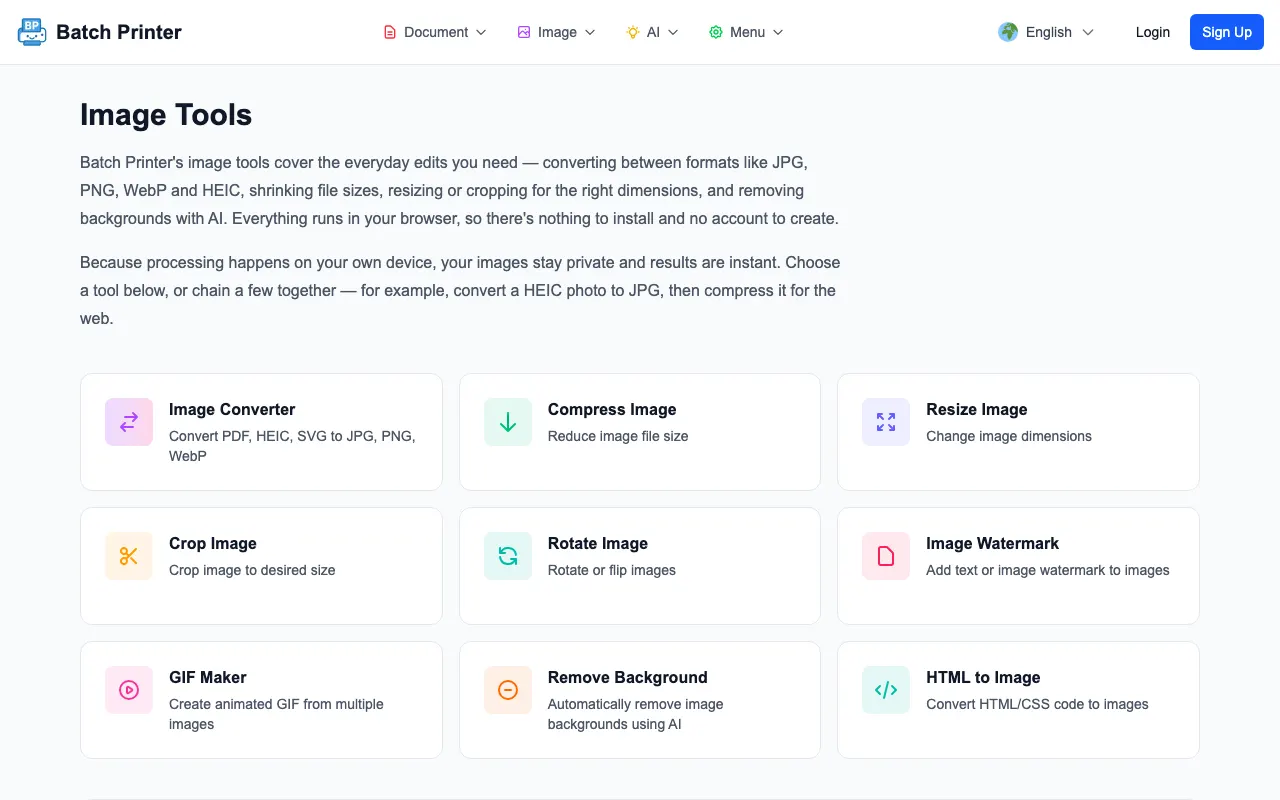
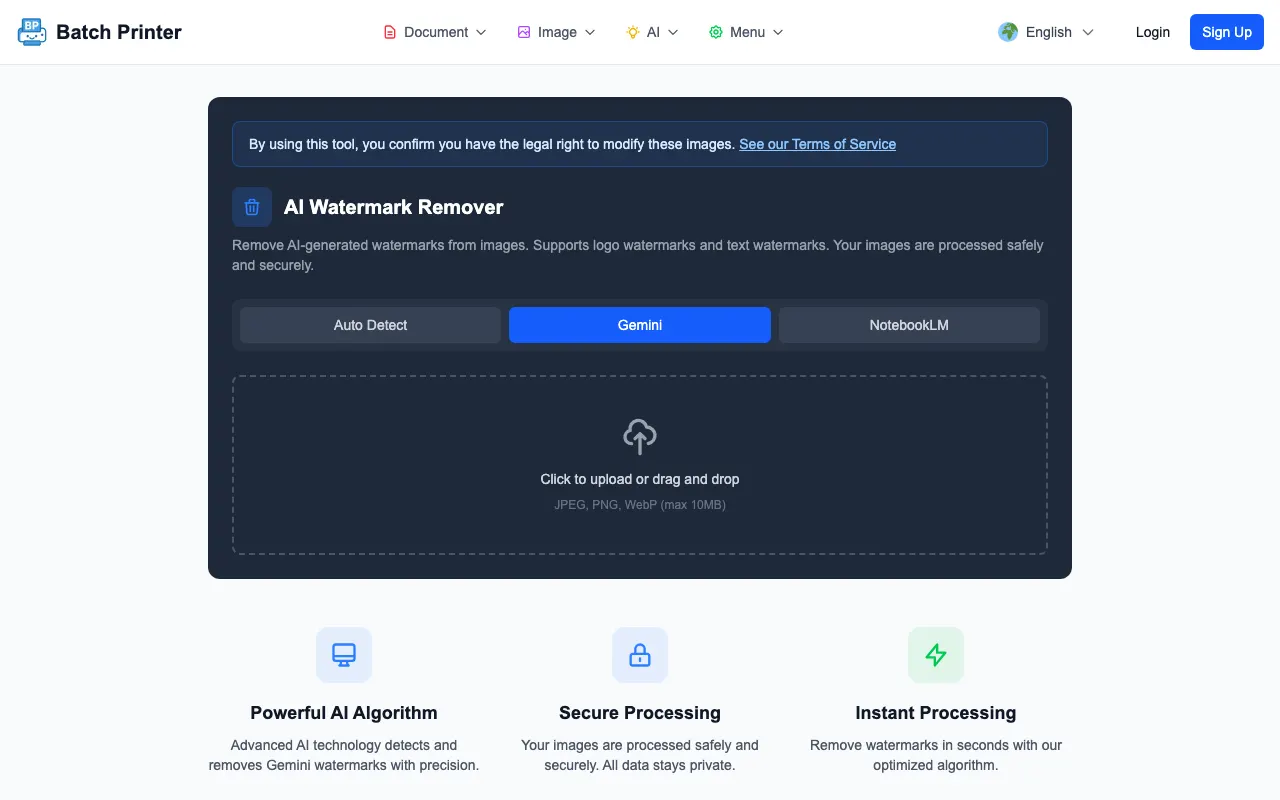
The screenshots below follow sample images with visible AI-style marks through the full workflow. One navigation note before you start: the remover is reached through the image tools hub, and older overlay-remover links redirect there automatically, so the hub is the dependable entry point.
What This Tool Is Designed to Change
The visible mark is an overlay in the image itself. In the tested files, it appeared as a small AI-style badge near the bottom-right edge or as a pale four-point sparkle in the image area after cropping. Batch Printer targets the visible mark region and fills that area from nearby visual context.
One boundary to respect: the tool edits pixels, not metadata. AI images can carry invisible provenance signals (Google's SynthID is one example) that live in the image data itself, and a visual cleanup pass leaves that layer untouched. Evaluate the output as an edited image - the visible corner mark is gone - not as a file scrubbed of every hidden attribute.
Step-by-Step: Process a Copy First
- Step 1: Save a copy of the image so the original remains available for comparison.
- Step 2: Open the AI image cleanup tool or the redirected /overlay-remover path in Batch Printer.
- Step 3: Choose AI mode when the mark looks like the AI-style sparkle or badge you want to clean.
- Step 4: Upload the copied image and run the removal workflow available to your account.
- Step 5: Download the cleaned output and open it beside the original.
- Step 6: Inspect the edited region at the final size where the image will be used.
Observed Engine Behavior in the Test Run
Under the hood, a successful run follows six visible stages: the engine loads the image file, decodes it, extracts the image data, detects a candidate mark region, renders a repaired result, and encodes a PNG. On two sample images with visible AI-style marks, the run reported its method (V24) and the edited area matched the detected region coordinates - a useful cross-check that the tool changed only what it claimed to change.
A limitation appeared in the same test: a fixture marked as no-overlay was still processed. That is why the technical recommendation is not simply upload and trust. The correct workflow is upload, process, compare, and reject if the algorithm edited an area that should have stayed unchanged.
Quality Checks After Download
- Edges around the edited region, especially where a product, face, or text passes nearby.
- Repeated texture that can make the fill area look stamped or smeared.
- Color mismatch between the fill area and surrounding background.
- Any accidental edits outside the visible overlay area.
- The final crop, because a clean full image can still look awkward after resizing.
When to Use Another Method
Use another method when the visible mark crosses important content. If the mark overlaps a face, a product logo, a label, or detailed text, automated fill may call more attention to the edit than the original mark did. In that case, regenerate the image, choose a different crop, or ask a human editor to repair the area manually.
Also skip automated cleanup when the image has bigger quality problems. Overlay removal will not fix impossible geometry, distorted text, wrong product details, or a visual concept that does not fit the document.
Format and File Notes
The tested output was a PNG. That is useful for preserving the edited pixels during review, but it may not be the final format you want for a website, email, or presentation. After approving the cleaned image, run the normal resize or compression step required by the destination.
If the destination has strict file rules, follow those rules after overlay cleanup. Treat removal as one step in the image-preparation chain, not as the final publishing step.
FAQ for Visible AI Overlay Removal
Does this remove invisible metadata? No - the workflow edits visible pixels only. Provenance signals embedded in the image data are a different layer and stay where they are.
What if the tool processes a clean image? Reject the output if the edited region should not have changed. The test run showed why comparison matters.
Can I use the cleaned image immediately? Only after checking it at final display size. Download success is not the same as publication approval.